|
Lesson
1
|
-
|
Chipping
(Part 1) |
Next,
after putting, chipping is the easiest motion
in golf. And the reason for this is because a
chip shot has the least moving parts after putting.
Now
in this first lesson I'm going to teach you something
called chip-putting but before I do that
I need to give you the definition of a chip shot.
You've probably heard a variety of definitions
on what constitutes a chip shot....but most of
them are wrong. So here is the best definition
of what a chip shot is...
|
Important
Note: Chip
Shot Definition...a chip shot
is a motion that is very close to the pendulum
putting motion as it requires no independent
wrist movement.
|
So
a chip shot is not defined by how far the ball
flies or rolls, but rather a chip shot is defined
by the motion being very close to a pendulum putting
action and it requiring no independent wrist movement.
So if you are chipping the ball and you break
your wrists then you have just hit a pitch...not
a chip.
OK,
that's cleared up, let's now start this first
chipping lesson and to do this you'll need your....
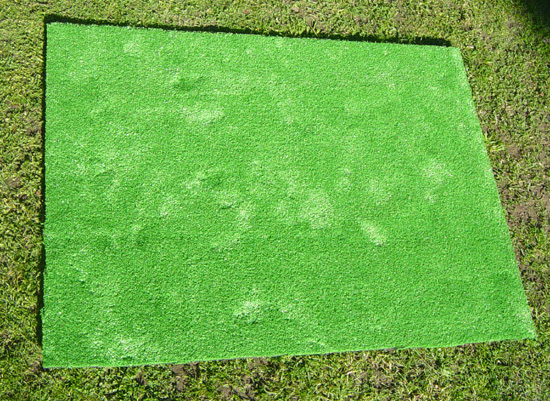
Completed
Short Game Practice Station
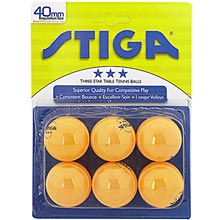
You'll
also need your table tennis balls.
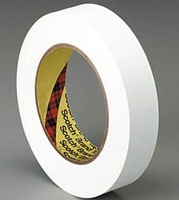
Plus
to complete this lesson you'll need to get some
white masking tape....
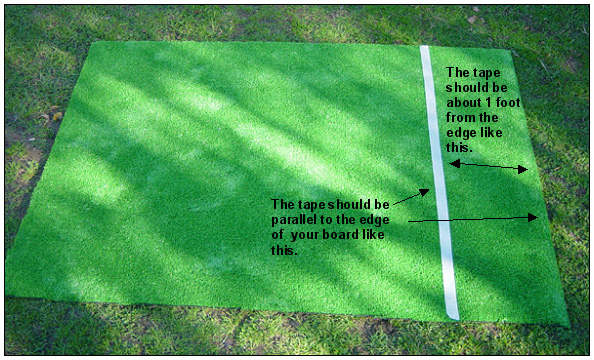
Once
you have some white masking tape then I want you
to cut a long piece and put it on the artificial
turf so it's parallel to the shortest edge on
your short game station. And place this line about
a foot inside the edge of your board.
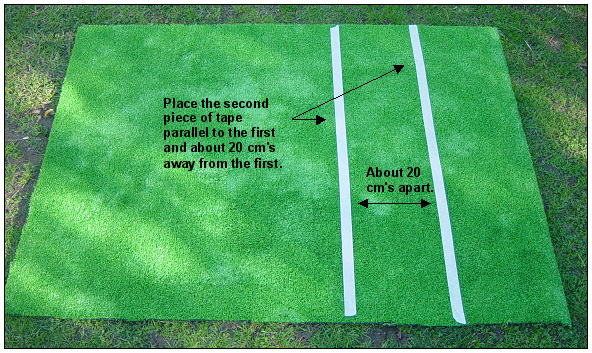
After
doing this you then need to put another piece
of tape about 20cm's (almost 8 inches) inside
the first tape and parallel to it.
|
Important
Note: The
distances I'm telling you to place your
tape are a rough guide. As you're completing
this lesson you may need to adjust them
to suit you. So if you need to then move
them.
|
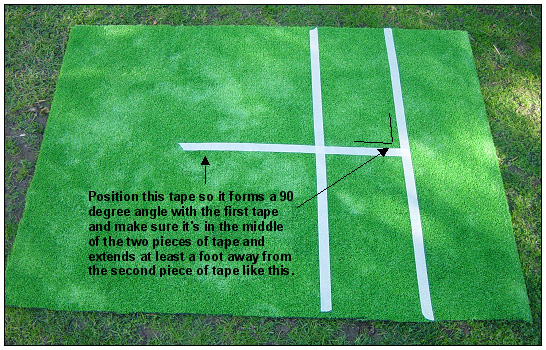
Finally,
in the middle of the two pieces of tape you need
to put a piece of tape like this...
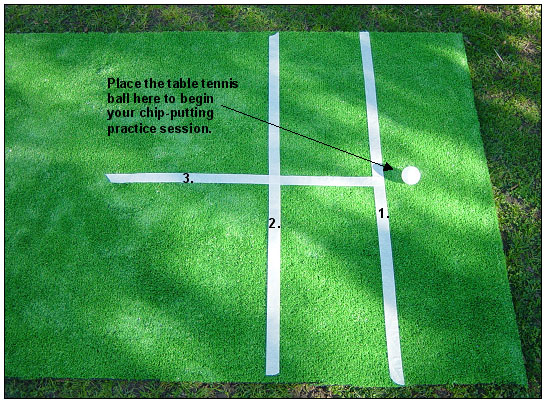
OK,
now place a table tennis ball just outside the
first line where the 3rd line would intersect
if it where to continue.
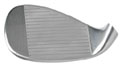
Once
you've set this up then you you need to get out
your 9-iron, as that is what you're going to be
chip-putting with.
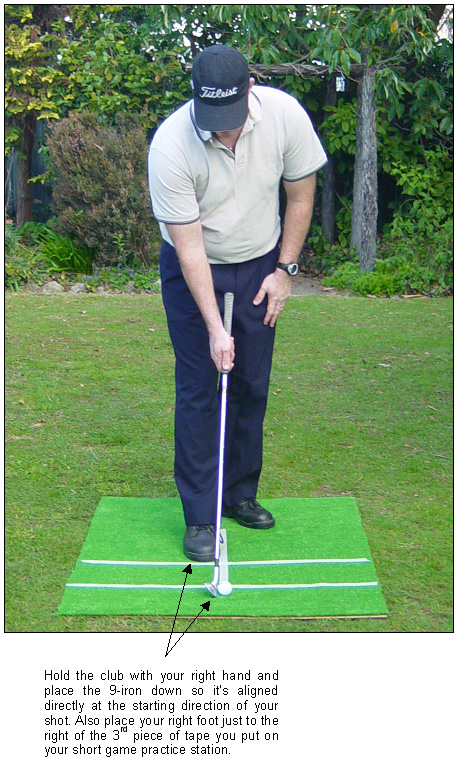
OK,
to setup to chip-putt I want you to hold
the club with just your right hand and place your
9-iron behind the ball so it's aligned square
to the starting line of your shot. Then place
your right foot just to the right of the 3rd piece
of tape that you've put on the artificial turf.
Here is a picture that shows you what to do...
|
Important
Note: At
this stage you should not have a final target
that you're wanting your ball to finish
- that will come later.
|
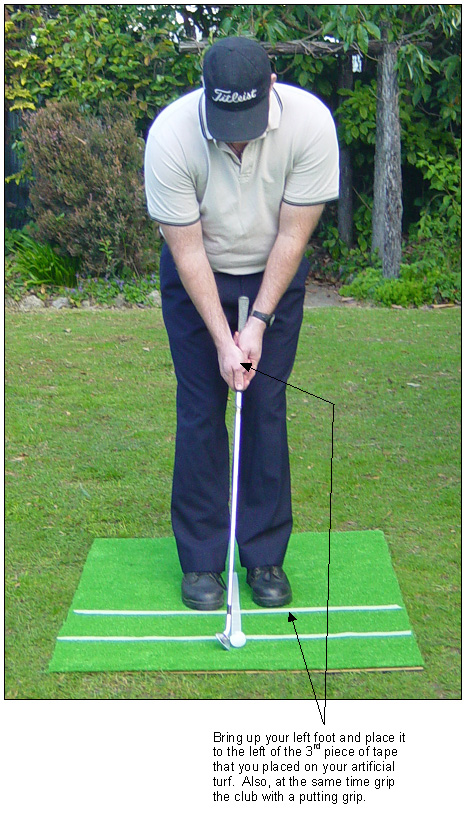
Next
I want you bring up your left foot up so it's
just to the left of the 3rd piece of tape that
you placed on the artificial turf. And at the
same time I want you to grip your 9-iron with
a putting grip.
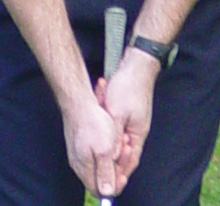
Now
I'm not really concerned with the putting grip
you use. Just use the same grip as you do when
you're putting. Here is a close-up of the putting
grip I use.
|
Important
Note: You'll
notice that in the picture above there is
a lot of the actual grip (the rubber thing)
visible. That's because I am gripping well
down on the grip. And to setup to this chip
shot as though you're putting you'll probably
have to do the same, which is fine.
|
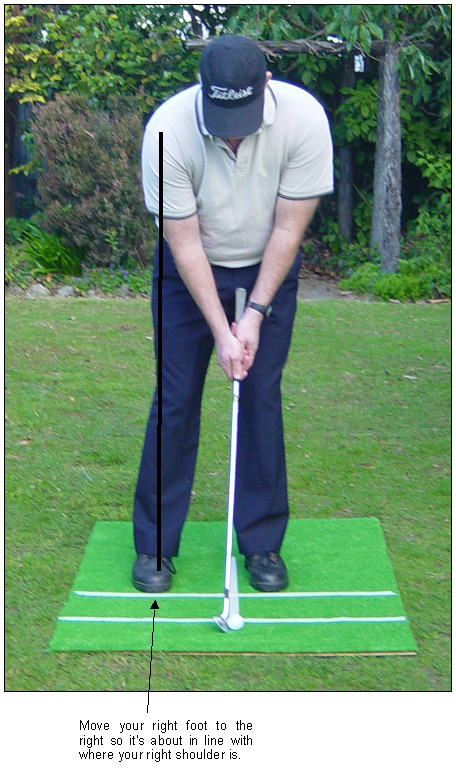
OK,
next you need to move your right foot to the right
so it's about in line with where you right shoulder
is...
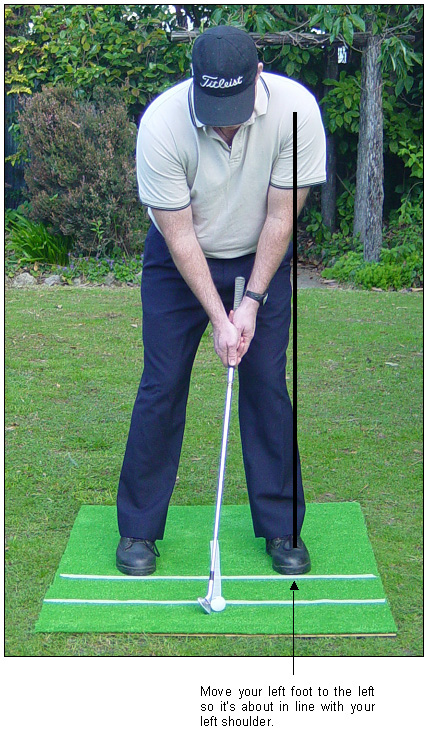
...then
you should move your left foot to the left so
it's virtually in line with your left shoulder.
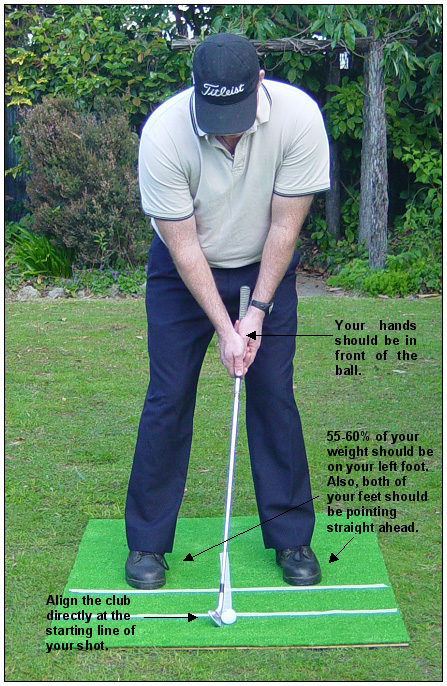
Now
it's important when you setup to chip-putt
that you...
-
align
the club directly at where you want your ball
to start
-
have
some flex in your knees
-
position
your hands so they are in front of the ball
-
position
your eyes directly over the ball
-
have
your arms relatively straight
-
align
your feet, knees, hips, shoulders all parallel
to the starting line of your shot
-
55
- 60% of your weight is on your left foot
Here
is a picture of summary of the setup you should
have for this chip-putt shot...
Chip-Putt
Setup Face On
Chip-Putt
Setup Down The Line

Once
you are in a similar position to what I've demonstrated
above you are ready to swing. Now to swing the
9-iron you need to understand that very little
should be moving. And I want to go through the
parts that should NOT be doing anything
as you swing. So here are all the parts that should
NOT be doing anything as you're chip-putting...
-
Feet
- Nothing
-
Ankles - Nothing
-
Knees
- Nothing
-
Legs
- Nothing
-
Hips
- Nothing
-
Head
- Nothing
All
that should be moving to make the golf club move
should be your shoulders, arms and wrists, and
at setup there is a triangle that is formed like
this...
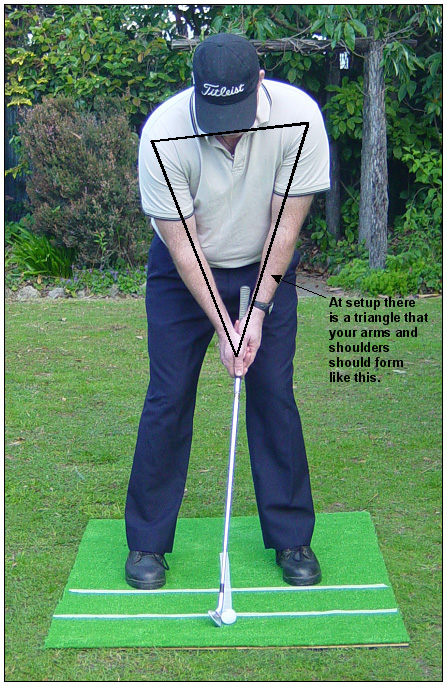
So
to swing the 9-iron you simply have to concentrate
on moving your shoulders, arms and wrists and
keeping this triangle intact as you're swinging.
So there should NOT be any independent
action from your hands. They should be dead.
Now
before you swing I need to explain why I'm getting
you to start practicing using a table tennis ball.
The reason for this because I want you to take
the hit out of the chipping stroke. A lot of people
have problems with the short game because they
try to hit the ball. Understand this, the ball
should just get in the way of your swing.
And by using a table tennis ball it will help
you to learn the swing without the hit that ruins
so many short game shots.
OK,
just before you swing there's a couple of other
things that are VERY important.
1.
Your follow-through should always be longer
than your backswing.
Why?
Because
this helps you to naturally accelerate through
the ball. You don't have to try and do it. If
you swing through longer than you take the club
back you'll naturally accelerate through the
ball.
2.
At the end of every shot you should hold your
finish until the ball has stopped moving. And
while you're holding your finish position you
need to watch the ball and see the trajectory
of the shot, distance traveled etc.
OK,
so that's all there is to it. Just swing your
shoulders and arms keeping everything else still,
and swing through longer than you did going back
and hold your finish.
If
you do this properly then at impact you'll arrive
at a very similar position as you were at setup.
Here is a swing sequence of me chip-putting,
and please notice that my follow-through is longer
than the backswing and the impact position is
very similar to the address position.

Now
when you practice I want you to go through the
same setup procedure that I showed you. And here
is a couple of videos that show you how you should
practice this.
|
Important
Note: These
videos have no sound in them.
|
Click
the Play Button  below
below
to view
a golfer practicing the chip-putt
correctly from the face on view.
Click
the Play Button
below
to view
a golfer racticing the chip-putt
correctly from the down the line view.
So
here's how you need to practice this for the next
week....
Task
1  -
Practice
chip-putting as I've shown you.
And I suggest you try and do short practice
sessions (e.g. 10 - 15 minutes), each
day rather than practicing for an hour
one day and not doing anything else the
rest of the week. -
Practice
chip-putting as I've shown you.
And I suggest you try and do short practice
sessions (e.g. 10 - 15 minutes), each
day rather than practicing for an hour
one day and not doing anything else the
rest of the week.
If
you can do short practice sessions each
day it will help up to build up a more
ingrained habit.
When
doing this make sure your follow-through
is longer than your backswing and you
hold your follow-through at the end of
each swing.
Time
Needed - Approximately
15 minutes Per Practice Session
|
So
that's your first task for this short game program.
It's not very hard but it is very important. You
need to focus on getting the correct action before
you attempt to hit real golf balls specific distances.
So practice this and then next week you're going
to start using real golf balls and hit to a target.
But this will be done with a twist.  So practice what I've taught you today for the
next 7 days and then come
back to The Short Game index page
in 7 days time to get the next, new, crucial lesson.
So practice what I've taught you today for the
next 7 days and then come
back to The Short Game index page
in 7 days time to get the next, new, crucial lesson.
|